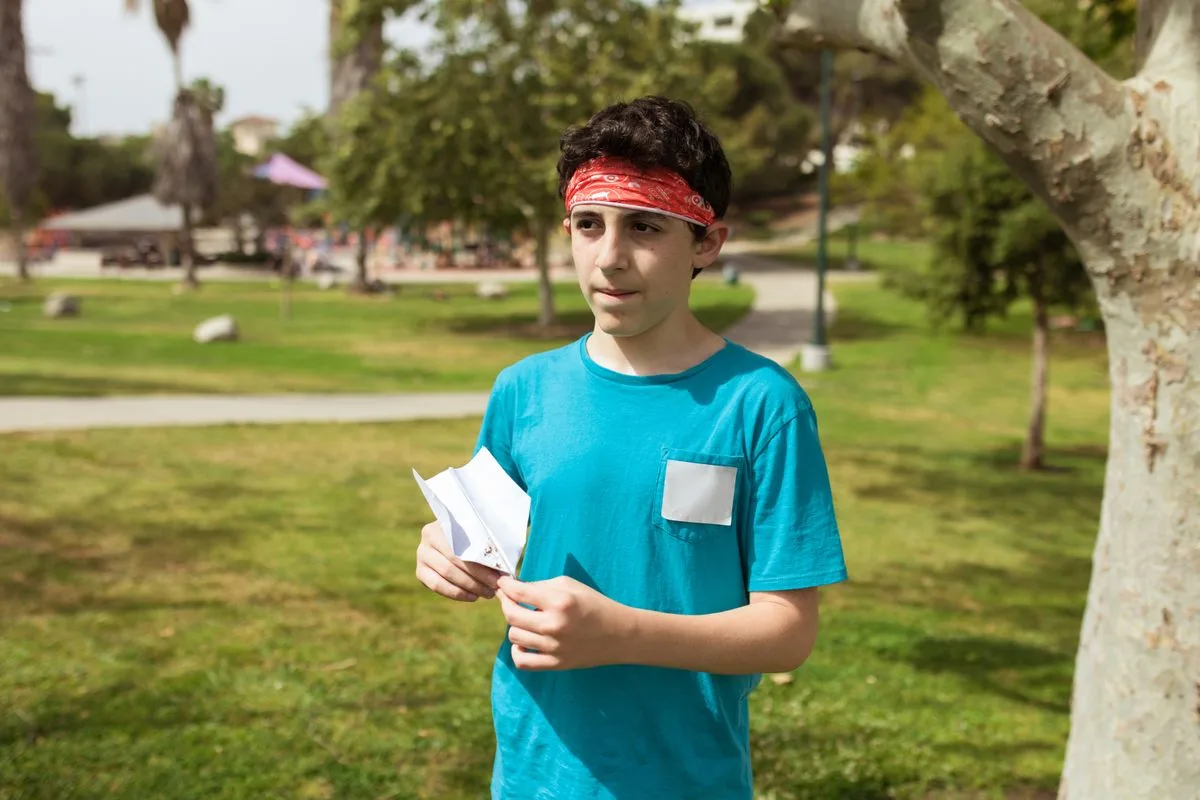
Paper aeroplanes offer an afternoon of making, trying and adjusting without needing an elaborate competition. Choose a simple folded design first. The question can be whether a small change affects the flight, rather than whose plane travels farthest.
Use ordinary paper and leave scissors, staples and added weights out of the design. A soft paper nose and gentle throws suit a home testing session better than tightly pointed, heavily reinforced planes.
Mark a clear flight space
Find an uncluttered area away from faces, pets, breakable objects and open doors. Put a paper marker on the floor for the thrower and a broad landing zone farther ahead. Children should stand behind the thrower, then retrieve planes together after each round.
If the available room is short, make the challenge landing within a nearby area. Accuracy at a gentle pace can be interesting without demanding a long corridor. Outdoors, choose a calm, open space and collect every paper plane afterwards.
Agree the direction of throws before folding. This prevents the first completed plane taking an unexpected flight across the table.
Fold one straightforward shape
Start with a rectangle. Fold it lengthways, open it and bring the top corners towards the centre crease. Fold the sloping edges towards the middle again, close along the original fold and fold down two wings. Keep both sides as similar as you reasonably can.
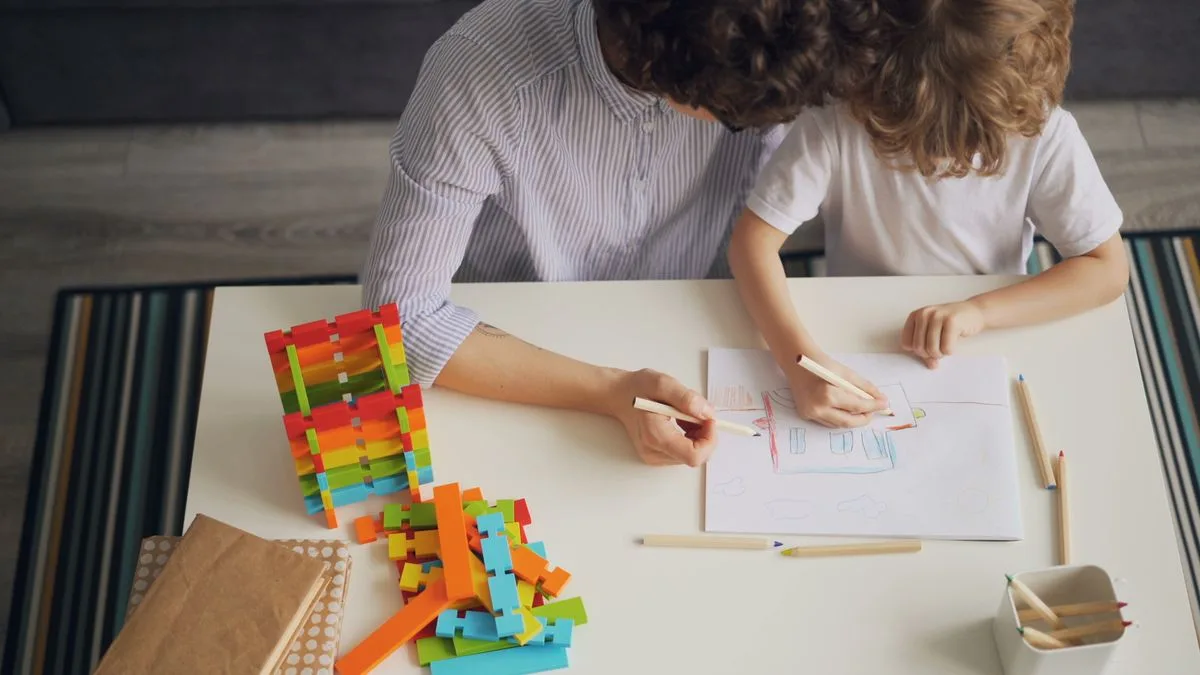
An adult can hold the paper while a child presses a crease. If a younger sibling joins, offer a broad folded paper glider with help rather than insisting on every narrow fold. Decorate lightly with crayons before the final wing folds if desired.
Test the basic plane before adding elaborate features. A child can name it and make a simple drawing to recognise their own design.
Change one thing and watch
Try two gentle throws from the same marker. Notice whether the plane dives, turns or glides. The throw itself varies, so treat observations as clues rather than proof that a design is best.
Choose one adjustment, such as making the wings more level or bending their rear edges slightly. Then try again with a similar throw. Changing the wings, nose and launch position together makes it difficult to know what mattered.
Older children can note where each plane lands using removable paper markers. Younger children may prefer pointing to the landing spot. Avoid measuring every flight unless the measuring is part of their interest.
Keep testing cooperative
One child can launch while another watches the shape of the flight. Swap roles after a couple of attempts. Compare a plane with its own earlier flight instead of ranking children by distance.
Finish with one chosen challenge: land near a paper island or make the gentlest landing. Keep favourite planes in a shallow box so their wings are not crushed. Recycle torn ones where suitable, and clear every landing marker before the space returns to normal use.
Make it work for your family. Keep the useful bits and change the rest.